
Disclosure: This post contains affiliate links. If you book through our links, we may earn a small commission at no extra cost to you. Thanks for supporting Faceted Travel!
Table of Contents
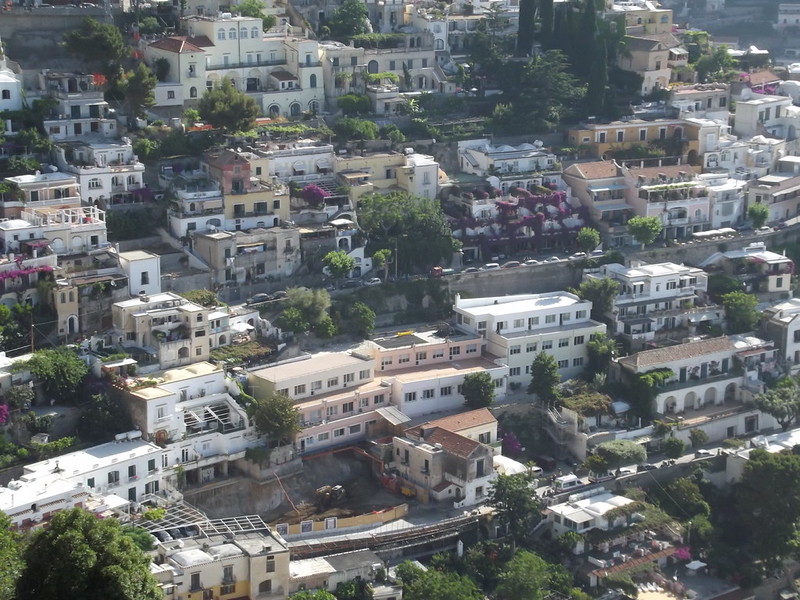
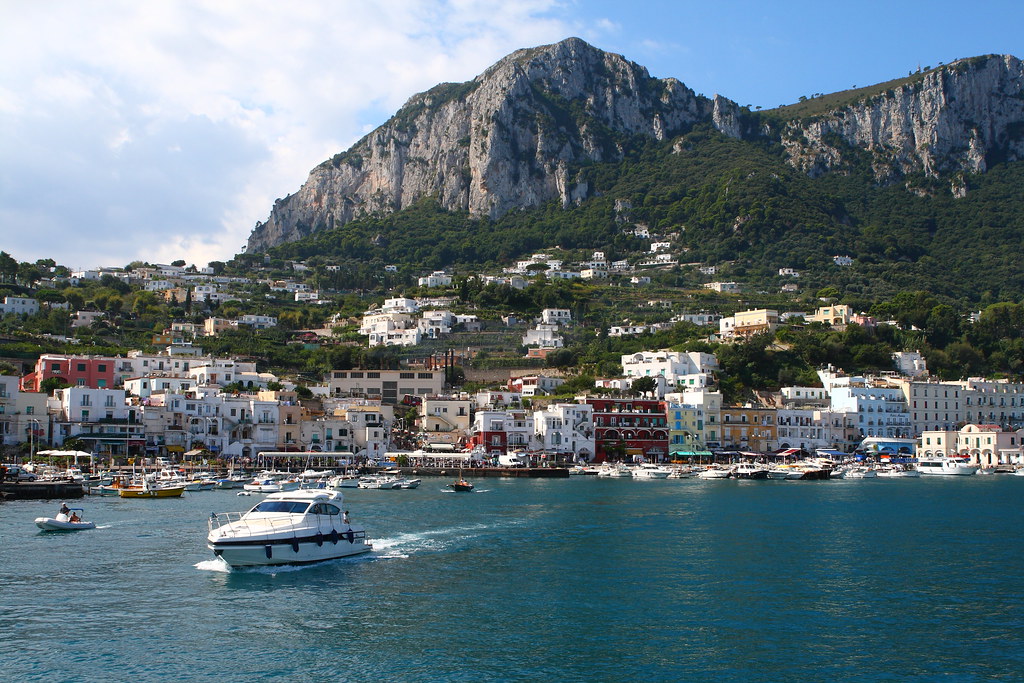
The first time our ferry rounded the headland and Capri rose out of the sea, all sheer cliffs and impossibly blue water, we actually gasped out loud. This tiny island off the Sorrento peninsula has been seducing travelers since the Roman emperors built their villas here, and one look at the Faraglioni rocks glowing in the afternoon sun tells you exactly why.
Capri is glamorous, dramatic, and yes, occasionally crowded, but it is also one of the most beautiful places we have ever set foot. The trick is knowing how to do it right: when to come, how to dodge the day-trip crush, and where to find the quiet corners that most visitors miss. This guide covers exactly that, from the Blue Grotto and the chairlift up Monte Solaro to where to stay, what to eat, and how we would spend two perfect days on the island.
Why Visit Capri?
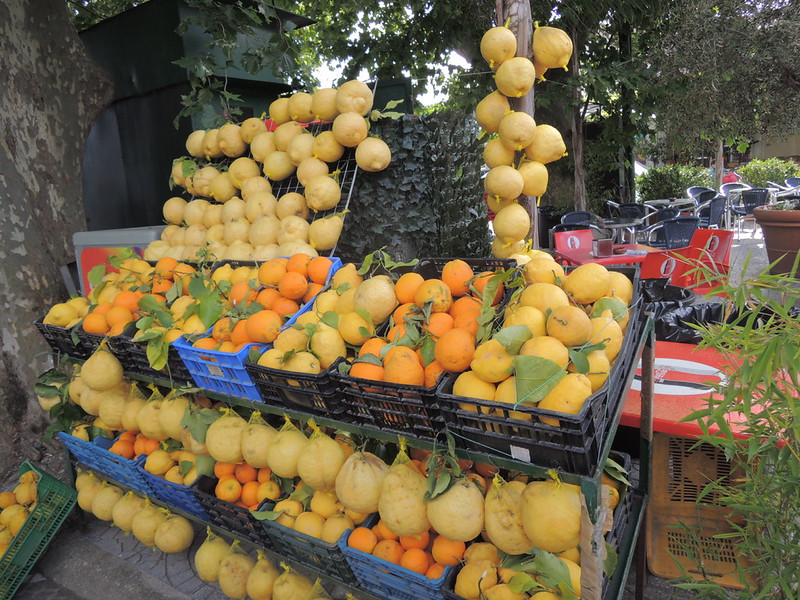
Capri earns its legendary status. The island is a compact masterpiece of limestone cliffs, hidden coves, whitewashed villages, and gardens spilling with bougainvillea. Everywhere you look there is a postcard: yachts bobbing in a turquoise bay, lemon trees heavy with fruit, a narrow lane opening onto a jaw-dropping sea view.
But there are really two Capris, and understanding the difference is the key to loving the place. There is the glossy, designer-boutique Capri of the famous Piazzetta, where the beautiful people sip Aperol spritzes and watch each other. And there is the wilder, quieter Capri of clifftop hiking trails, ancient Roman ruins, and the sleepy upper village of Anacapri. The day-trippers rarely leave the first one, which means the second is yours for the taking.
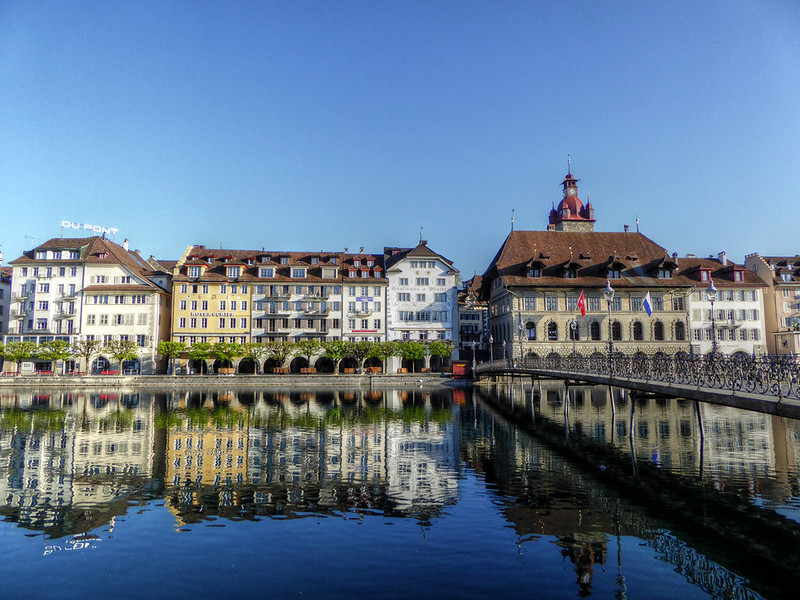
If you are building a southern Italy trip, Capri pairs naturally with the mainland. Our Amalfi Coast travel guide and our Sorrento travel guide both make excellent companions, since Sorrento in particular is the classic launch point for the island.
When to Visit Capri
The best times to visit Capri are the shoulder seasons of May, early June, September, and October. In these months the weather is warm, the sea is swimmable, and the island is lively without the sardine-tin density of high summer. We visited in late September and had golden days, warm water, and space to breathe on the trails.
July and August are Capri at full throttle. The island is stunning but heaving, ferries are packed, and the Piazzetta can feel like a very stylish traffic jam. Prices peak, and popular restaurants and the Blue Grotto require patience. If summer is your only option, come, but arrive early and lower your expectations about having anything to yourself.
Spring and fall bring blossoms, comfortable hiking temperatures, and softer light for photos. Winter is a different island entirely: many hotels, restaurants, and boat services shut down from November through March, and the Blue Grotto often closes due to rough seas. For a full month-by-month breakdown of the whole country, our guide to the best time to visit Italy will help you choose your window.
Getting to Capri
Capri is reached only by boat, and that ferry ride is part of the magic. Ferries and faster hydrofoils depart regularly from several mainland ports, so where you start depends on your base.
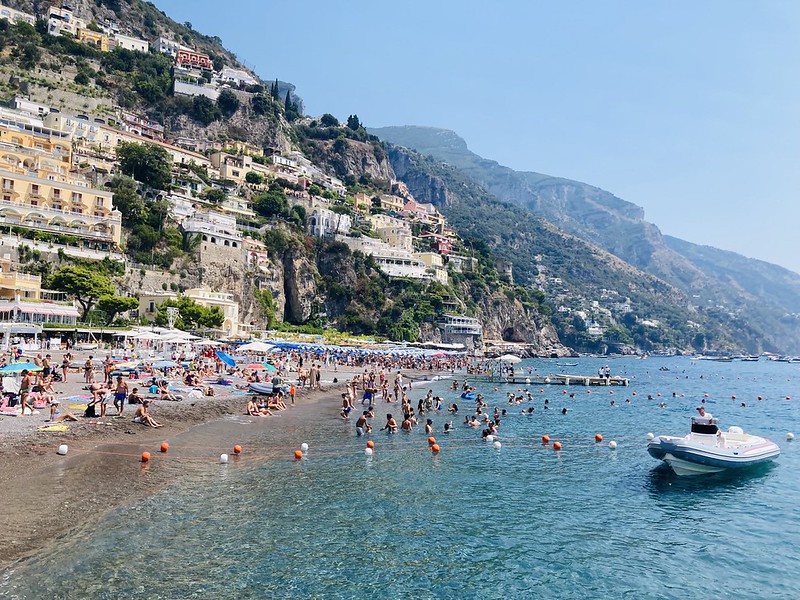
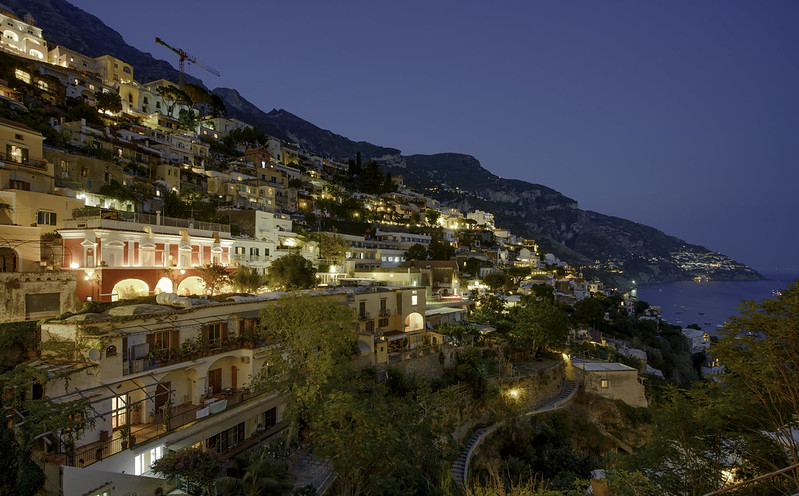
The most common departure points are Sorrento and Naples. From Sorrento the crossing takes roughly 20 to 30 minutes, making it the easiest and quickest gateway, which is one more reason we love Sorrento as a home base. From Naples, ferries run from the Molo Beverello and Calata Porta di Massa ports and take around 45 to 80 minutes depending on the boat. In summer you can also catch seasonal ferries from Positano and Amalfi.
A few practical notes. Buy ferry tickets in advance during high season, since popular crossings sell out. Boats can be canceled in rough weather, so build a little flexibility into your plans. And whatever you do, do not bring a rental car: private cars are heavily restricted on Capri, and you will not want one. If you are flying into the region first, our Naples travel guide covers the gritty, wonderful gateway city.
The Best Things to Do in Capri
Capri packs an astonishing amount into a small space. Here are the experiences we would build a trip around.
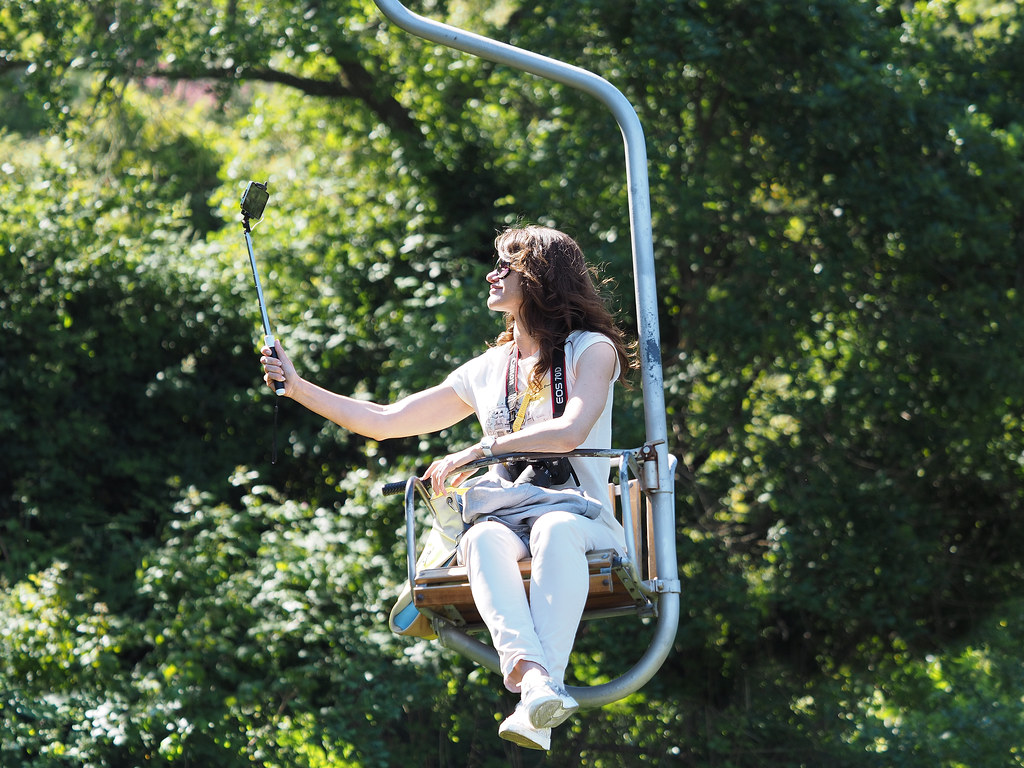
Ride the chairlift up Monte Solaro
This is our single favorite thing to do on the island, and it is often overlooked. From Anacapri, a gloriously old-fashioned single-seat chairlift floats you up to the summit of Monte Solaro, the highest point on Capri. The 12-minute ride drifts silently over gardens and rooftops, and the panorama from the top, taking in the Faraglioni, the Bay of Naples, and the Amalfi Coast, is simply unforgettable. Go on a clear day and give yourself time to linger.
See the Blue Grotto (with realistic expectations)
The Grotta Azzurra is Capri’s most famous attraction, a sea cave where sunlight filtering through an underwater opening lights the water a surreal electric blue. It is genuinely beautiful. It is also a bit of a production: you transfer into a tiny rowboat, lie back to fit through the low entrance, and the whole visit lasts only a few minutes. Go early, check that the sea is calm enough for it to be open, and consider it a bucket-list bonus rather than the whole point of your trip.
Wander the Piazzetta and the gardens
Capri town’s central square, officially Piazza Umberto I but known to everyone as the Piazzetta, is the beating heart of island glamour. Grab a coffee, do some world-class people-watching, then stroll to the Giardini di Augusto, terraced gardens with a knockout view of the Faraglioni rocks and the winding Via Krupp below. The gardens are inexpensive to enter and worth every cent.
Explore quiet Anacapri
Up the hill from the main town, Anacapri is the island’s calmer, more down-to-earth village. Here you will find Villa San Michele, the beautiful former home of Swedish physician Axel Munthe, with sculptures, gardens, and one of the best views on Capri. Anacapri is where the island exhales, and it is where we would base ourselves for a quieter stay.
Take a boat around the island
Seeing Capri from the water is essential. A boat tour circles the island past sea caves, the towering Faraglioni (you sail right through the arch of the middle one for luck), and hidden swimming coves you cannot reach any other way. You can join a group tour or splurge on a private skippered boat. Viator lists island boat tours, Blue Grotto trips, and private charters departing from Capri and the mainland.
Hike the Pizzolungo and Arco Naturale
For a dose of the wild, quiet Capri, walk the Pizzolungo trail. This scenic footpath threads along the cliffs past the Arco Naturale (a dramatic natural stone arch), the Grotta di Matermania, and the striking Villa Malaparte perched over the sea. It is one of the most beautiful walks in Italy and, remarkably, most day-trippers never do it.
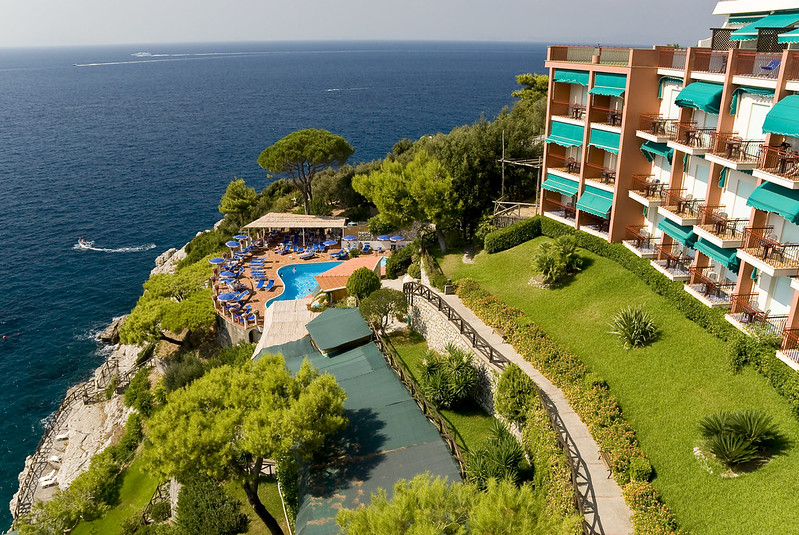
Where to Stay in Capri
Staying overnight is the secret to loving Capri. When the last afternoon ferries pull away, the island transforms into something calmer and more romantic, and it belongs to the people who stayed.
Capri town
Staying in or near the Piazzetta puts you in the middle of the action, steps from restaurants, shopping, and the funicular down to the port. It is the most glamorous and generally the most expensive zone, ideal if you want to be at the center of the buzz and do not mind a splurge.
Anacapri
For better value and a more peaceful pace, we love Anacapri. Rooms tend to cost less, the streets are quieter, and you are close to Monte Solaro and Villa San Michele. You give up a little of the see-and-be-seen energy, which for us is a feature, not a bug.
Marina Grande
Down at the main port, Marina Grande offers easier ferry access and often slightly gentler prices, handy if you are arriving late or leaving early. It is less charming than the hilltop villages but supremely convenient. Because this corner of Italy runs pricey, our guide to how much a trip to Europe costs can help you budget realistically for an island splurge.
Where to Book
- Hotels: We use Booking.com to compare everything from luxury clifftop hotels in Capri town to family-run guesthouses in Anacapri, most with free cancellation.
- Tours and experiences: Viator has island boat tours, Blue Grotto excursions, guided walks, and day trips that combine Capri with the Amalfi Coast.
Sample 2-Day Capri Itinerary
Two nights on the island is the sweet spot: enough to see the highlights and enjoy the magical after-hours calm. Here is how we would do it.
Day 1: Classic Capri. Arrive at Marina Grande and take the funicular up to the Piazzetta. Drop your bags, then spend the morning strolling the town and the Giardini di Augusto for that first Faraglioni view. After lunch, take a boat tour around the island, sailing through the Faraglioni arch and stopping for a swim. Return for an aperitivo in the Piazzetta as the day-trippers disappear, then a long, relaxed dinner.
Day 2: Quiet Capri. Head up to Anacapri in the morning and ride the Monte Solaro chairlift while the air is clear. Visit Villa San Michele for its gardens and views, then walk the Pizzolungo trail past the Arco Naturale to see the island’s wilder side. If the sea is calm, fit in the Blue Grotto. Toast your last evening with limoncello and a sunset you will not forget.
What to Eat in Capri
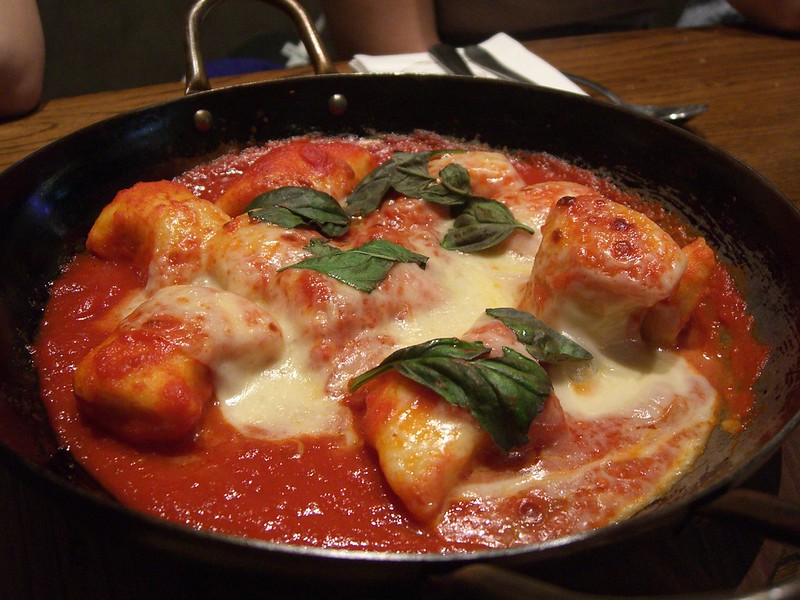
Capri gave the world two of Italy’s most beloved dishes, and you must eat both here. Insalata caprese, the simple, perfect salad of fresh mozzarella, ripe tomatoes, and basil, tastes like sunshine when made with local ingredients. And torta caprese, a dense, flourless chocolate and almond cake, is the island’s signature dessert and utterly worth the calories.
Beyond those icons, look for ravioli capresi (little pasta pillows filled with local cheese and herbs), just-caught seafood, and produce grown in island gardens. Wash it down with a chilled local white or, of course, a limoncello made from the region’s fragrant lemons. Dining on Capri is not cheap, but a leisurely meal on a terrace over the sea is part of what you came for.
Practical Tips for Visiting Capri
Stay overnight if you possibly can. The single best decision you can make on Capri is to sleep there. The island after the day boats leave is calmer, more romantic, and far more magical.
Wear comfortable shoes. Capri is steep, with stairs, cobbles, and hilly paths everywhere. Cute sandals will betray you; supportive walking shoes will save your trip.
Get an early start on the Blue Grotto. It is busiest midday and closes entirely when the sea is rough. Go early, and always confirm it is open before making the trip out.
Use the local buses and funicular. Small buses connect Marina Grande, Capri town, and Anacapri, and the funicular links the port with the Piazzetta. They are cheap, frequent, and far easier than any alternative.
Budget for the glamour. Capri is one of Italy’s pricier spots. Save on lunch with a panino from a deli so you can splurge on that dreamy dinner with a view.
Is Capri Worth Visiting?
Completely, and it may be the most beautiful island we have ever visited. Yes, Capri is famous and can be busy, but its reputation is earned honestly: the cliffs, the sea, the light, and the sheer romance of the place are the real thing. The visitors who leave underwhelmed are almost always the ones who came for three hours off a day boat and never got past the crowded Piazzetta.
Do it differently. Stay overnight, ride the chairlift up Monte Solaro, walk the cliffside trails, explore quiet Anacapri, and linger over dinner as the island empties out. Come in the shoulder season if you can, pace yourself, and let Capri reveal its two faces. Give the island that kind of attention and it will reward you with some of the most unforgettable views in all of Italy. We came expecting a pretty day trip and left already plotting our return.
Continuing through southern Italy? Pair Capri with our guides to gorgeous Positano, the wider Amalfi Coast, and cliff-top Sorrento, and time your trip perfectly with our post on the best time to visit Italy.