Disclosure: This post contains affiliate links. If you book through our links, we may earn a small commission at no extra cost to you. Thanks for supporting Faceted Travel!
Table of Contents
- Why Travel Carry-On Only
- Choose the Right Bag First
- The Core Principle: Build a Capsule Wardrobe
- Clothing: What to Pack
- Toiletries That Pass Security
- Tech and Gadgets
- Documents and Money
- The Packing Method
- What to Wear on the Plane
- What NOT to Pack
- Carry-On Rules: Avoid the Gate Check
- Our Master Carry-On Checklist
- Where to Book and Shop
- Final Thoughts
We spent three weeks crossing Europe last spring with nothing but a carry-on bag each, and people did not believe us. No checked luggage, no baggage carousel, no lost-suitcase panic, just two bags rolling onto trains and into tiny European elevators without a fight. After years of overpacking, learning to travel carry-on only might be the single best travel skill we ever picked up.
This is the ultimate carry-on packing list, built from real trips and plenty of mistakes. We will cover the right bag, how to build a wardrobe that mixes and matches, the toiletry rules that keep you out of trouble at security, the tech and documents you actually need, and the packing method that makes it all fit. There is a copy-and-go checklist at the end. Let us get your whole trip into one bag.
Why Travel Carry-On Only
Before the how, a quick word on the why, because it changes how you travel.
Going carry-on only means you skip baggage claim entirely, which can save 30 to 45 minutes on every flight. You never pay checked-bag fees, which on budget airlines can cost more than the flight itself. Your bag cannot get lost, delayed, or rerouted to another continent. And you stay mobile: stairs, cobblestones, train platforms, and last-minute gate changes all become non-issues when you are carrying everything you own.
The tradeoff is discipline. You cannot pack for every hypothetical. But once you trust the system, you will wonder why you ever did it differently.
Choose the Right Bag First
Everything starts with the bag. Most domestic airlines allow a carry-on around 22 by 14 by 9 inches plus a personal item, though budget and international carriers can be stricter, so always check your specific airline.
You have two main camps. A wheeled carry-on is easier on your back and great for cities with smooth surfaces and airports. A carry-on travel backpack is more versatile for cobblestones, stairs, and trains, and it forces you to pack lighter. We use one of each depending on the trip. Whichever you choose, look for a clamshell opening that lays flat like a suitcase, since top-loading bags are a nightmare to pack efficiently.
We go deep on specific bags in our best carry-on luggage guide, so start there if you are still shopping. The right bag does half the work.
The Core Principle: Build a Capsule Wardrobe
Here is the secret that makes carry-on travel possible: stop packing outfits and start packing a capsule. A capsule wardrobe is a small set of pieces that all coordinate, so every top works with every bottom. Pick a simple color palette (we lean on navy, gray, black, and one accent color) and everything mixes.
The goal is versatility, not variety. You are not dressing for a fashion show. You are building a kit where ten items create dozens of combinations, and where you genuinely do not mind re-wearing things, because everyone you meet on the road is seeing each outfit for the first time anyway.
Clothing: What to Pack
This is where most people overpack. Our rule of thumb for a one-week to three-week trip (laundry makes the length irrelevant, more on that below):
Tops and Bottoms
- 4 to 5 tops (mix of t-shirts and one or two nicer shirts)
- 2 pairs of pants or trousers that work for both day and a nice dinner
- 1 pair of shorts or a skirt, depending on the climate and season
- 1 light sweater or fleece for layering
- 1 packable rain jacket or versatile light jacket
The Two-Pair Shoe Rule
Shoes are heavy and bulky, so limit yourself to two pairs and wear the bulkier one on the plane. We pack one comfortable walking shoe or sneaker and one slightly dressier pair that still works for a lot of walking. A third pair (sandals or flip-flops) is the only addition we make for beach trips, and they pack flat.

Underwear, Socks, and Sleepwear
- 5 to 7 pairs of underwear and socks (quick-dry fabrics rinse and dry overnight)
- 1 lightweight sleep set
- 1 swimsuit if relevant
The Laundry Trick
This is the move that makes any trip length fit in a carry-on. Plan to do laundry once a week, whether at an accommodation with a washer, a local laundromat (a fun way to feel like a local for an hour), or a sink with a small tube of travel detergent. Pack a few clothespins or a flat travel clothesline and you can wash quick-dry items in the evening and wear them the next day. We never pack more than a week of clothes no matter how long the trip is.
For destination-specific clothing strategy, our Europe packing list breaks down what to bring for that part of the world season by season.
Toiletries That Pass Security
The carry-on toiletry rule trips up more travelers than anything else. Under the 3-1-1 rule, all liquids, gels, and aerosols must be in containers of 3.4 ounces (100 ml) or less, all fitting in a single quart-size clear zip bag.
The easy fixes:
- Buy travel-size containers and decant your own products, or buy travel sizes of your favorites.
- Switch to solids wherever you can: bar shampoo, bar conditioner, solid sunscreen, and a solid deodorant stick are not liquids, so they do not count against your quart bag and they cannot leak.
- Bring a toothbrush, travel toothpaste, and a razor (blades are fine in carry-on; just not loose ones).
- Skip anything your accommodation provides. Most hotels have shampoo and soap.
- Pack a small first-aid kit with pain relievers, bandages, and any prescriptions in their original labeled containers.
A hanging toiletry bag keeps it all organized and off tiny hotel counters.
Tech and Gadgets
Be ruthless here too, since cables and chargers add up fast.
- Phone and charger
- A single universal power adapter if traveling internationally (one that covers multiple regions)
- A compact power bank for long sightseeing days (must be in carry-on, never checked)
- Headphones or earbuds
- A laptop or tablet only if you truly need it
- A short multi-port charger so one plug handles several devices
Skip the gadgets you will not use. We have hauled e-readers, cameras, and travel speakers across oceans only to never take them out of the bag.
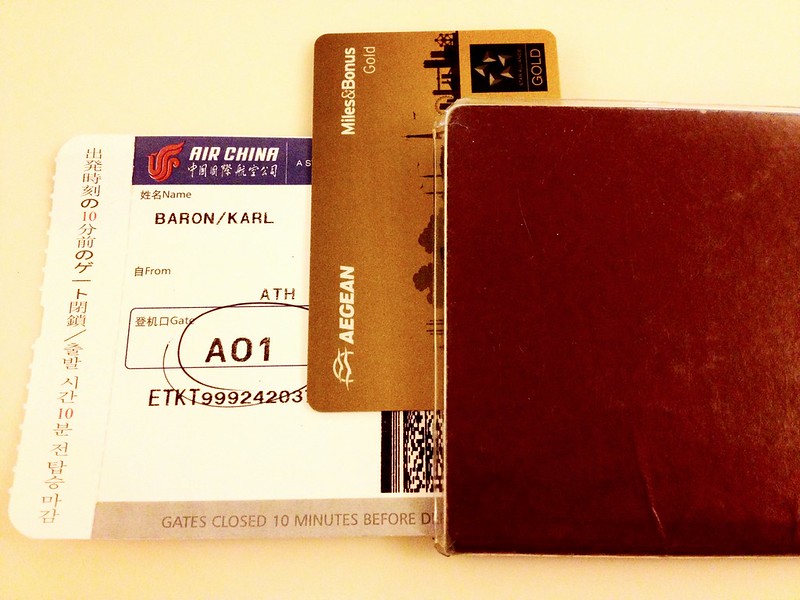
Documents and Money
Keep these in your personal item, never your overhead bag, in case the two get separated:
- Passport and any required visas
- A photo or two of your passport stored separately and in the cloud
- Driver’s license or ID
- Credit cards (bring two, kept in different places, in case one is lost or frozen)
- A small amount of local cash
- Travel insurance documents
On that last point, we never travel internationally without coverage, and a carry-on-only trip is no exception. If your bag does get gate-checked and goes missing, or a trip gets canceled, insurance is what saves the day. Our guide to the best travel insurance explains what to look for.
The Packing Method
How you pack matters almost as much as what you pack. Our system:
Use packing cubes. This is the upgrade that changes everything. Cubes compress your clothes, keep categories separated, and turn a chaotic bag into organized drawers. We use one cube for tops, one for bottoms, and one for underwear and socks.
Roll, do not fold. Rolling clothes saves space and reduces wrinkles for most casual items. Fold only the few things that wrinkle badly, like a dress shirt, and put them on top.

Wear your bulkiest items on the plane. Your heaviest shoes, your jacket, and your warmest layer should be on your body, not in your bag. This single trick frees up enormous space.
Fill the gaps. Stuff socks inside shoes, tuck chargers along the edges, and use every cubic inch.
What to Wear on the Plane
Plan your travel outfit as part of your packing strategy. Wear your bulkiest shoes, your jacket, and a comfortable layer you can add or remove as cabin temperatures swing. Choose something presentable enough for a nice dinner if your bag ever does go missing. Comfortable pants, slip-on-friendly shoes for security, and a scarf or light layer (planes are always cold) round it out.
What NOT to Pack
Half of packing light is leaving things home. The usual culprits we have learned to skip:
- More than two pairs of shoes
- Full-size toiletries
- Bulky towels (accommodations provide them, or pack one quick-dry travel towel)
- A different outfit for every single day
- Heavy books (use your phone or a single e-reader)
- Just-in-case items for situations that almost never happen
- Hair dryers and irons (nearly every hotel has them)
Carry-On Rules: Avoid the Gate Check
A few habits keep your bag with you and out of the cargo hold:
- Measure your bag fully packed, including wheels and handles, against your airline’s stated limits.
- Weigh it if flying international or budget carriers, which often enforce weight limits as low as 7 to 10 kg.
- Board in your assigned group; overhead space fills up, and late boarders are the ones asked to gate-check.
- Keep your liquids bag and electronics easy to reach for security.
Speaking of airlines, choosing the right fare in the first place saves money and headaches. Our guide on how to find cheap flights pairs nicely with traveling light, since avoiding checked bags is part of how budget fares stay cheap.
Our Master Carry-On Checklist
Here is the quick-reference version to copy before your next trip:
- Carry-on bag plus a personal item
- 4 to 5 tops, 2 to 3 bottoms, 1 sweater, 1 jacket
- 2 pairs of shoes (wear the bulkier one)
- 5 to 7 days of underwear and socks (quick-dry)
- Sleepwear and swimsuit if needed
- Quart bag of liquids under 3.4 oz each, plus solid toiletries
- Toothbrush, medications, small first-aid kit
- Phone, charger, power bank, adapter, headphones
- Passport, IDs, two credit cards, some cash, insurance docs
- Packing cubes, travel detergent, a few clothespins
- A reusable water bottle (empty through security) and a packable day bag
Where to Book and Shop
Once your bag is sorted, here is where we book the rest of the trip:
- Hotels: Booking.com is our default for finding accommodations with free cancellation, and we specifically filter for properties with laundry facilities, which is the secret to packing light for long trips.
- Tours and experiences: Viator is where we book the walking tours, day trips, and activities that fill the itinerary once the suitcase is handled.
For luggage, packing cubes, and the travel gear that makes carry-on living work, our best carry-on luggage guide has our specific recommendations.
Final Thoughts
Traveling carry-on only is a mindset more than a packing list. Once you commit to a capsule wardrobe, two pairs of shoes, solid toiletries, and a weekly laundry rhythm, the length of the trip stops mattering. You move faster, spend less, and never stand at a baggage carousel watching everyone else’s bags go by. Try it once on a shorter trip to build confidence, and we think you will be hooked, just like we are.
Want to keep planning the smart way? Read our best carry-on luggage guide, our Europe packing list, and our guide on how to find cheap flights to round out your travel toolkit.